Don’t have the budget to buy a projector? No worries, here are some easy and effective ways to help you make a DIY smartphone projector at home.

Did you know you could make a smartphone projector at home with a shoebox?
If you are a DIY person who loves to do things independently and does not plan to buy a projector anytime soon, this article is for you.
I will tell you how to build a smartphone projector at home with a simple shoebox and a magnifying lens.
These Projectors are easy to make and extremely effective.
What are the things you need to build a smartphone projector?
You need to keep three things in mind.
- First, if you choose a wall to project images, the wall should be even, clean, and preferably white.
- Second, you need a magnifying lens. The bigger the lens, the better. It’s best if you use a lens without handles.
- And finally, you need a smartphone or a tablet in working condition.
The basic rule to construct anything at home is to have everything handy. So, grab a pen and paper and list the things I mention below.
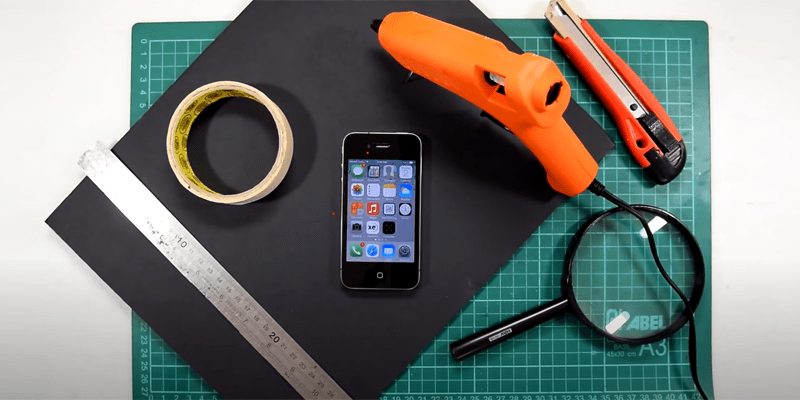
- A shoe box that is already available in your house. Or you can get one from the nearest crafting store.
- Measuring tape
- A magnifying glass lens
- Smartphone or a tablet, whichever is available.
- A stiff cardboard
- A box cutter
- A torch or a flashlight
- Double-sided or masking tape, preferably with a washable adhesive.
- An adhesive
- You can use a white sheet or a smooth, freshly cleaned wall as the screen surface if you do not already have a projector screen.
Now that you have these things available, follow the steps below.
#Step-1: The first step is measuring the box and noting the length, depth, and width.
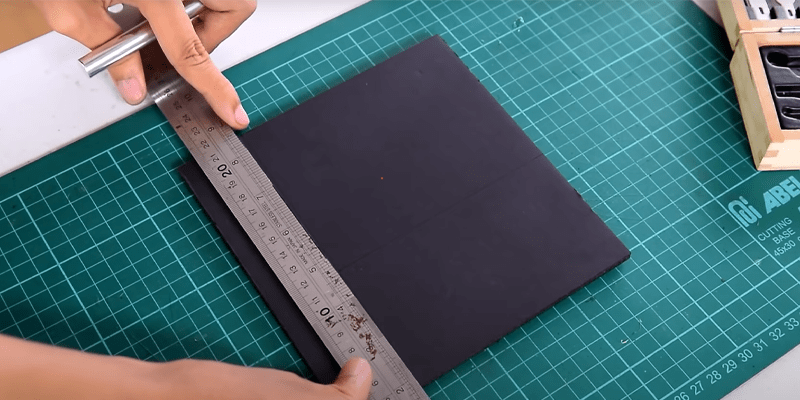
Once you are done, keep the note safely aside. You will need it in the next steps.
#Step 2: Apply the glue to strengthen the box’s flaps.
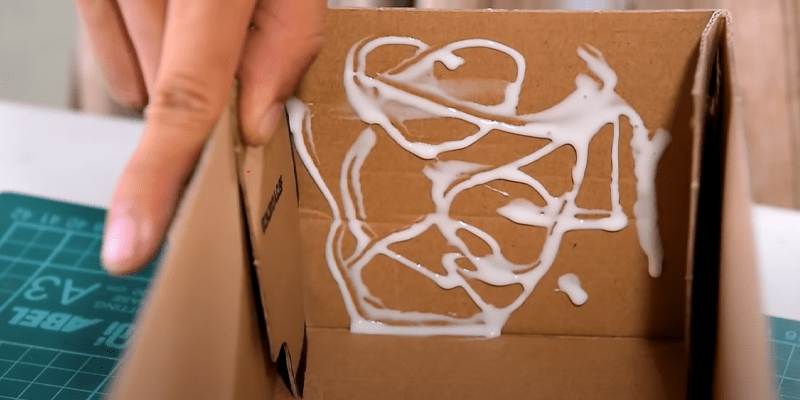
Use a lot of adhesives because you’ll be cutting a sizable hole on one end.
If necessary, each flap should be pressed and held to ensure that the adhesive dries properly.
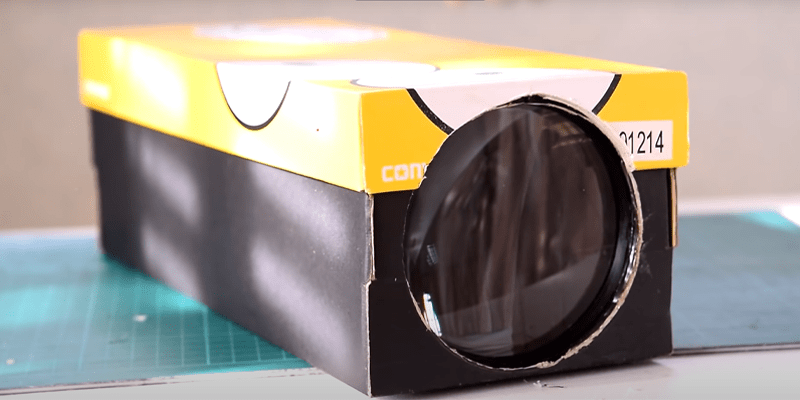
Dry the adhesive. Note that you can skip this step if you’re using a photo box rather than a shoe box.
Tip: These pre-made photo boxes are simple to find in any local craft shop. They save you a ton of time and effort and are really durable.
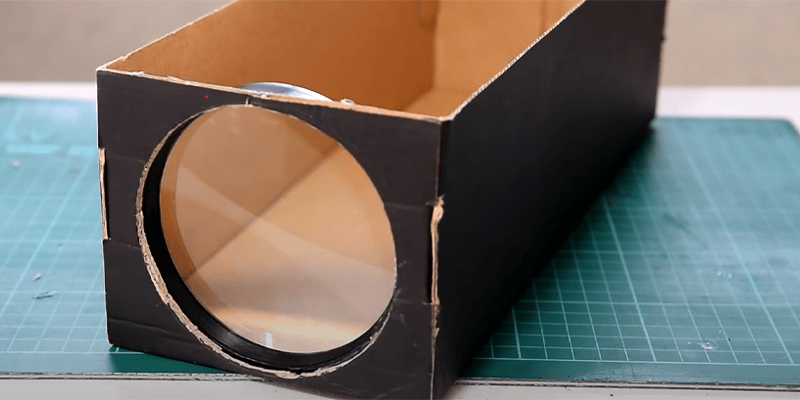
#Step 3: Draw a full circle around the magnifier by setting it up against the box’s one end.
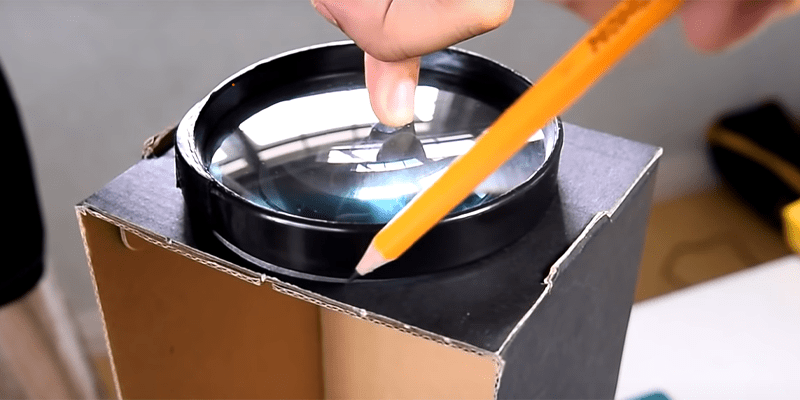
#Step 4: Use the measuring tape to position the lens with equal room on either side.
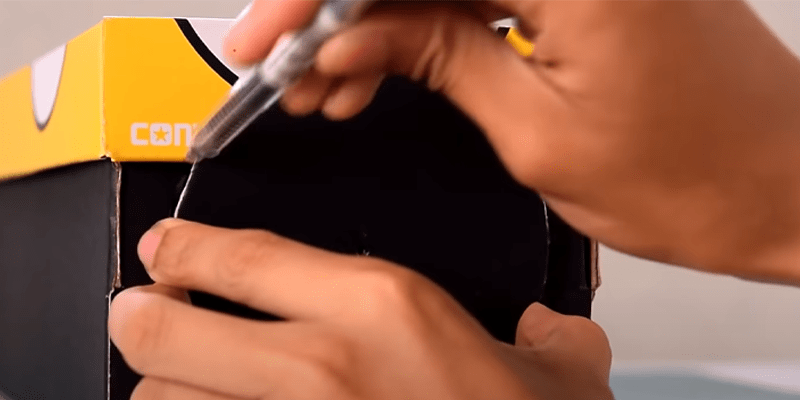
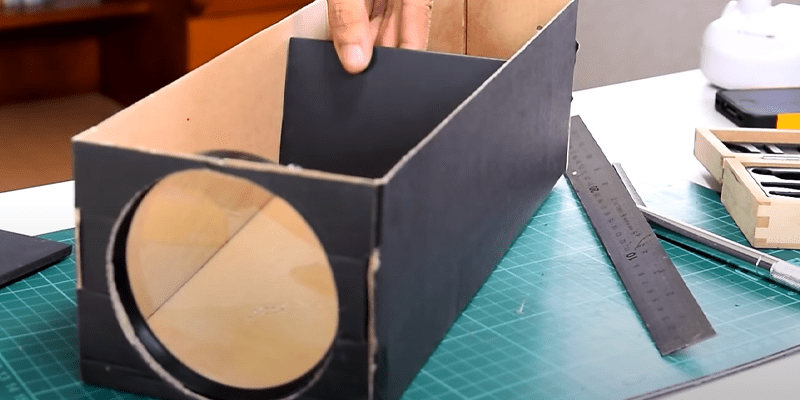
#Step- 5: Use a utility knife to gently cut off the circle, then place the lid on the box and trace the edge to determine how much the lid needs to be removed. Remove the box panel, leaving a little extra as a backup.
#Step- 6: Place the box upright with the hole pointing down and carefully run glue along the edge to firmly seat the lens in your created hole.
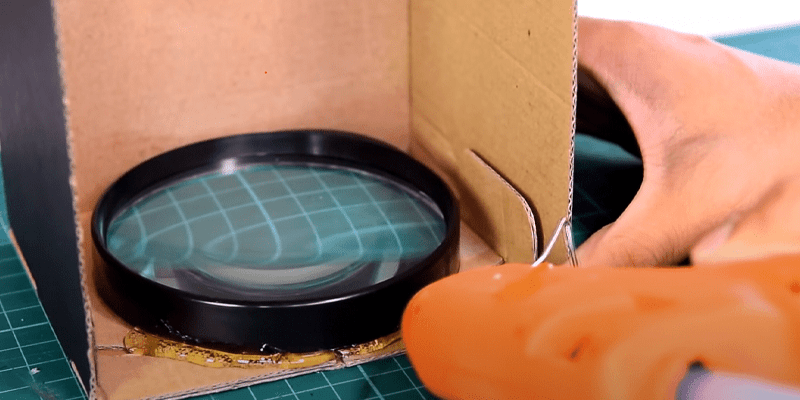
#Step- 7: Trim away any extra glue once it has dried.
#Step-8: Examine the edge with the flashlight to search for any “light leaks” or areas where the light can pass through. Wrap the tape around these.
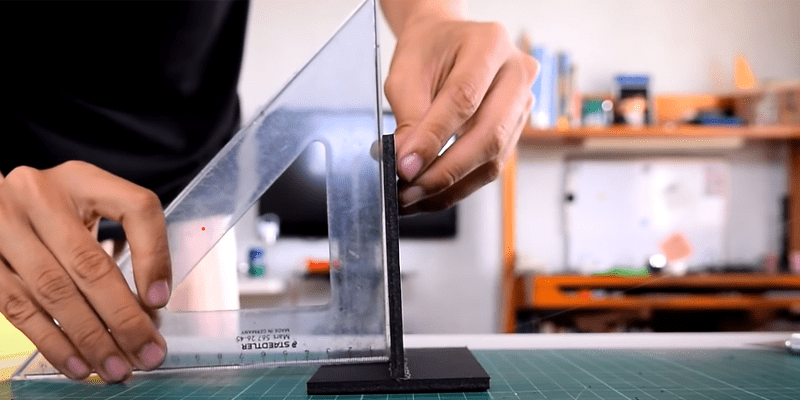
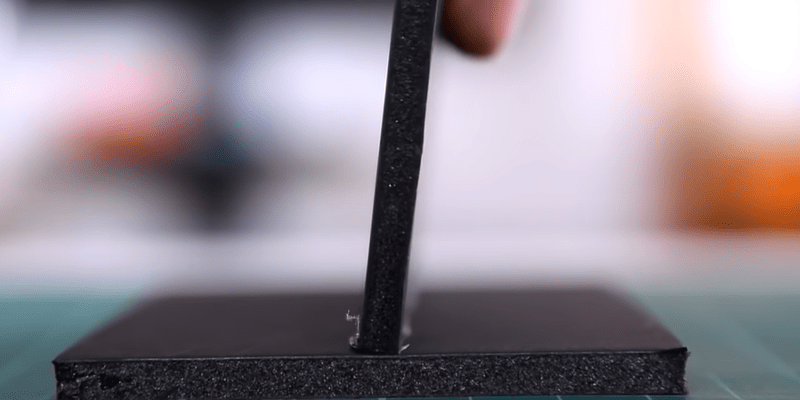
#Step-9: Build support for your smartphone or tablet while the lens glue dries. This will be a straightforward foam core or rigid cardboard inverted T-shape.
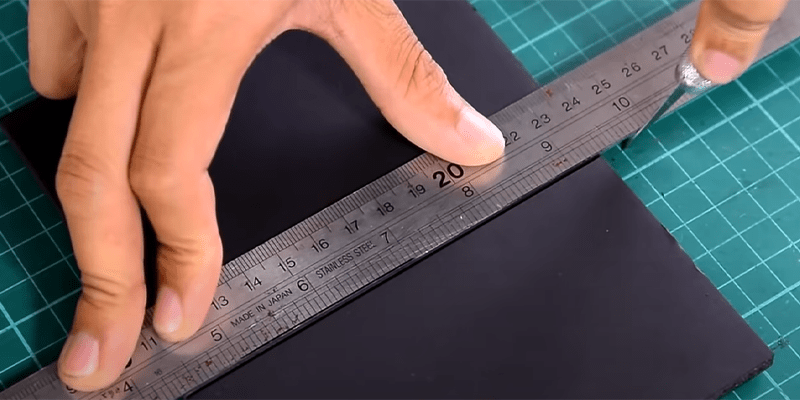
#Step 10: Cut a piece of foam core that is 1/8 of an inch smaller than the box’s width on each side after measuring the box’s width and depth.
#Step-11: Another piece of foam core should be cut to fit vertically inside the box and adhered at a right angle to the base with the lens pointing up.
Use several pieces of foam core to provide a firmer resistance if stability is problematic.
#Step-12: To ensure your smartphone sticks with the screen facing out, place it roughly in the middle of the vertical panel and attach it with the tape.

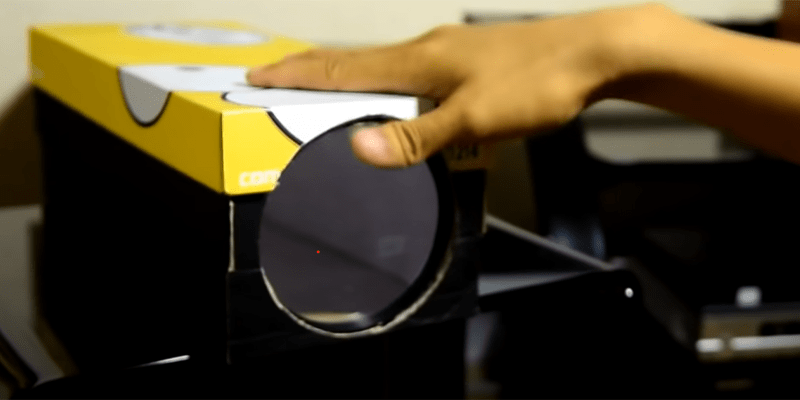
#Step-13: You’re ready to watch now that the glue is dried. Dim the lights and position your box so the lens faces the projection surface.
#Step-14: Your phone’s brightness and loudness should be set to maximum.
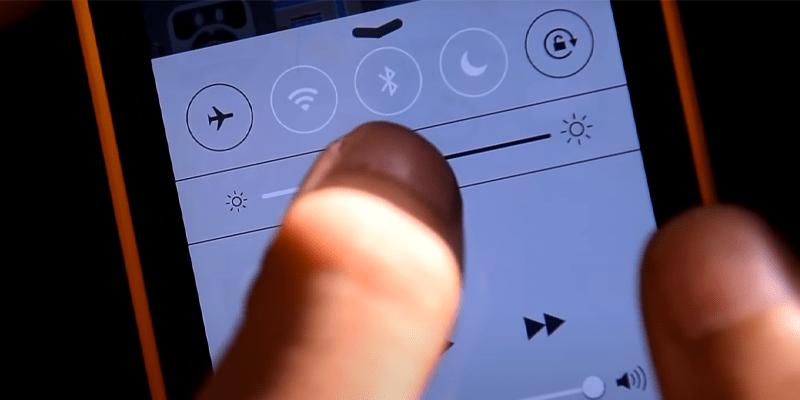
Turn off screen rotation. I suggest casting the audio to a Bluetooth speaker. It will enhance the audio quality.
Step 15: After starting the desired material, pause it.
#Step 16: Tape the image you have on your phone to the brace after flipping it over. To ensure the sharpest possible image on the wall, place the phone and brace in the box and rock it back and forth.
#Step 17: Press “play,” close the box, and take pleasure!
Watching movies and your favorite shows on a real-time projector is truly an amazing experience. Still, if you do not have a readymade projector at home, these steps will help you construct a smartphone projector using some basic things that can be easily found anywhere and everywhere.
FAQs: Frequently Asked Questions
How hard is it to make a DIY video projector?
It’s very easy because such a projector requires some basic household items. You don’t have to be techy for this creation; even kids can make it at home.
Do DIY projectors worth the time?
Of course, they are. Remember, DIY things are created for fun. If you’re interested in these things, you won’t regret it.
Do DIY smartphone projectors work as typical video projectors?
Yes, DIY smartphone projectors work but don’t expect the same picture quality as we do from typical projectors.
How to make my DIY projector project a good image?
Ensure your mobile/tablet brightness is high; the more, the better. Moreover, use the magnifying glass that has some curvature with chromatic aberration.
Conclusion: How to Make Your Own with a Shoebox?
Therefore, I can say that a DIY smartphone projector is a handy, easy-to-make, and effective projector that can be used at home to watch your favorite shows.
These projectors will provide an unforgettable experience if you enjoy watching movies on the big screen but lack the funds to purchase a projector. You cannot overlook the delight that comes with making your own smartphone projectors.
I am sure if you follow these steps correctly, building one of these sitting at home is not a tough job.
If you have any queries, feel free to contact me. I will be happy to help.
Related: